
Build a Thermometer
Overview
A thermometer is an instrument used to measure temperature, or the degree of hotness or coldness of an object or environment.
It typically consists of two main parts:
A temperature sensor: In traditional thermometers, this is a bulb containing a liquid (like colored alcohol) that expands or contracts into a narrow tube. In digital versions, it's an electronic sensor.
A calibrated scale: This translates the change in the sensor into a numerical value, displayed either along the glass tube (in Celsius or Fahrenheit) or on a digital screen.
By providing a precise measurement of temperature, thermometers are essential for a wide range of applications, from detecting a fever in medicine and checking the weather to controlling cooking processes and conducting scientific experiments.
Did you know?
The very first thermometers, made around the time of Galileo, didn't use liquid; they worked by measuring how much air expanded or shrank when the temperature changed.
Not all thermometers are liquid or digital. A type invented in the 1800s uses a special metal strip that physically bends with temperature changes to move a pointer and show the reading.
Some modern thermometers can take your temperature from your eardrum by measuring the invisible infrared light that it gives off.
Design Challenge:
Explore how liquids expand and contract with temperature by building your own thermometer.
Build a thermometer using a bottle and straw, then use a marker to label the liquid's starting point at room temperature.
Place your thermometer in a bowl of warm water. How high does the colored liquid climb in the straw?
Now, move it to a bowl of cold water. Can you use these different points to create your own simple scale for "cold," "room temp," and "warm"?
Materials:
Clear plastic bottle (small water bottle or similar)
Straw (clear or light-colored)
Modeling clay or playdough
Rubbing alcohol (or water with a few drops of food coloring)
Food coloring (optional, for visibility)
Water
Permanent marker
Measuring cup
Bowl of warm water
Bowl of cold water (with ice, optional)
Build Instructions:
1. Prepare the Liquid
Mix equal parts water and rubbing alcohol in a measuring cup (about ½ cup total).
Add a few drops of food coloring to help see the liquid rise in the straw.
2. Fill the Bottle
Pour the colored liquid into the bottle, filling it about one-quarter full.
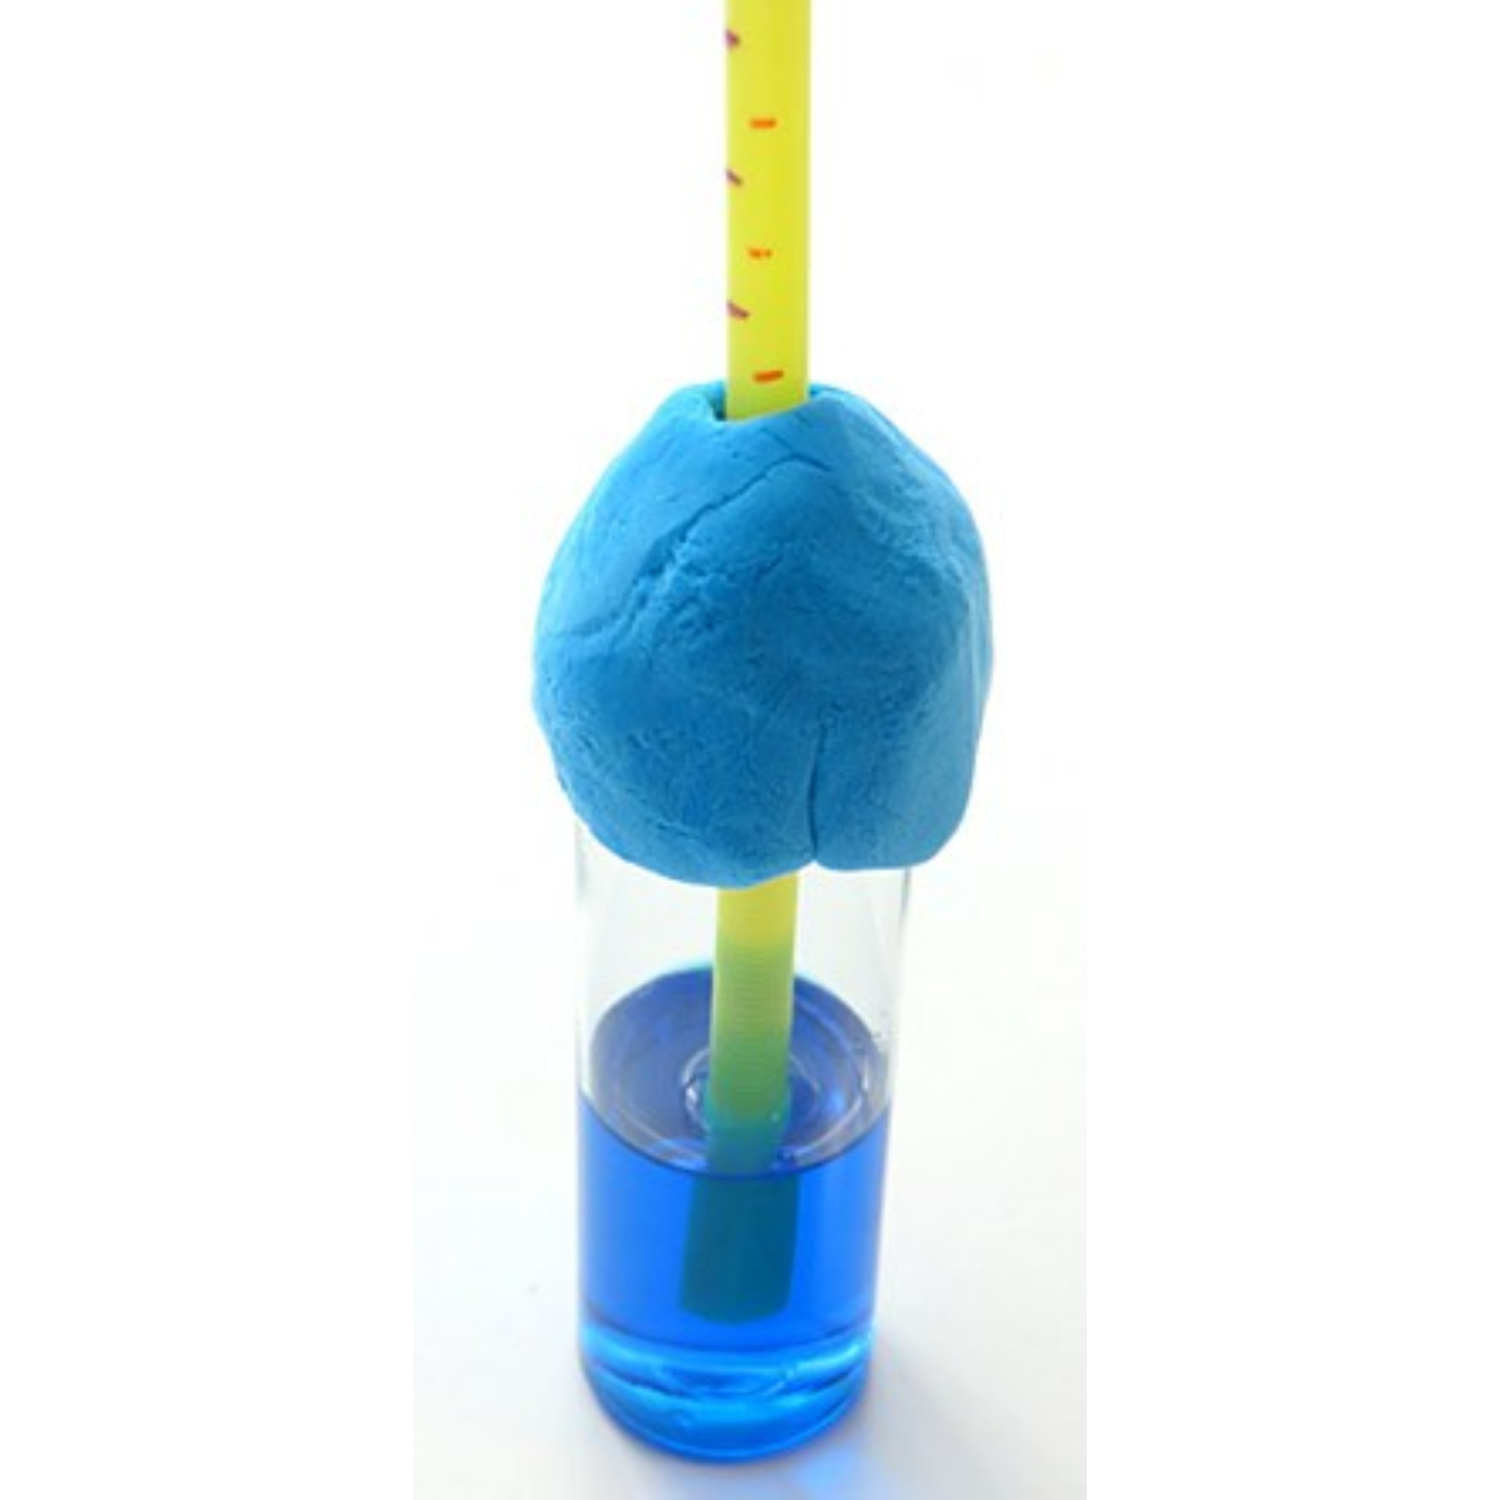
3. Insert the Straw
Place the straw into the bottle so it stands straight but does not touch the bottom.
Use modeling clay to seal around the straw opening tightly. Make sure no air can escape and the straw stays upright.
4. Mark the Starting Point
Use a permanent marker to draw a line on the straw at the top level of the liquid. Label it as your “starting point” or “room temperature.”
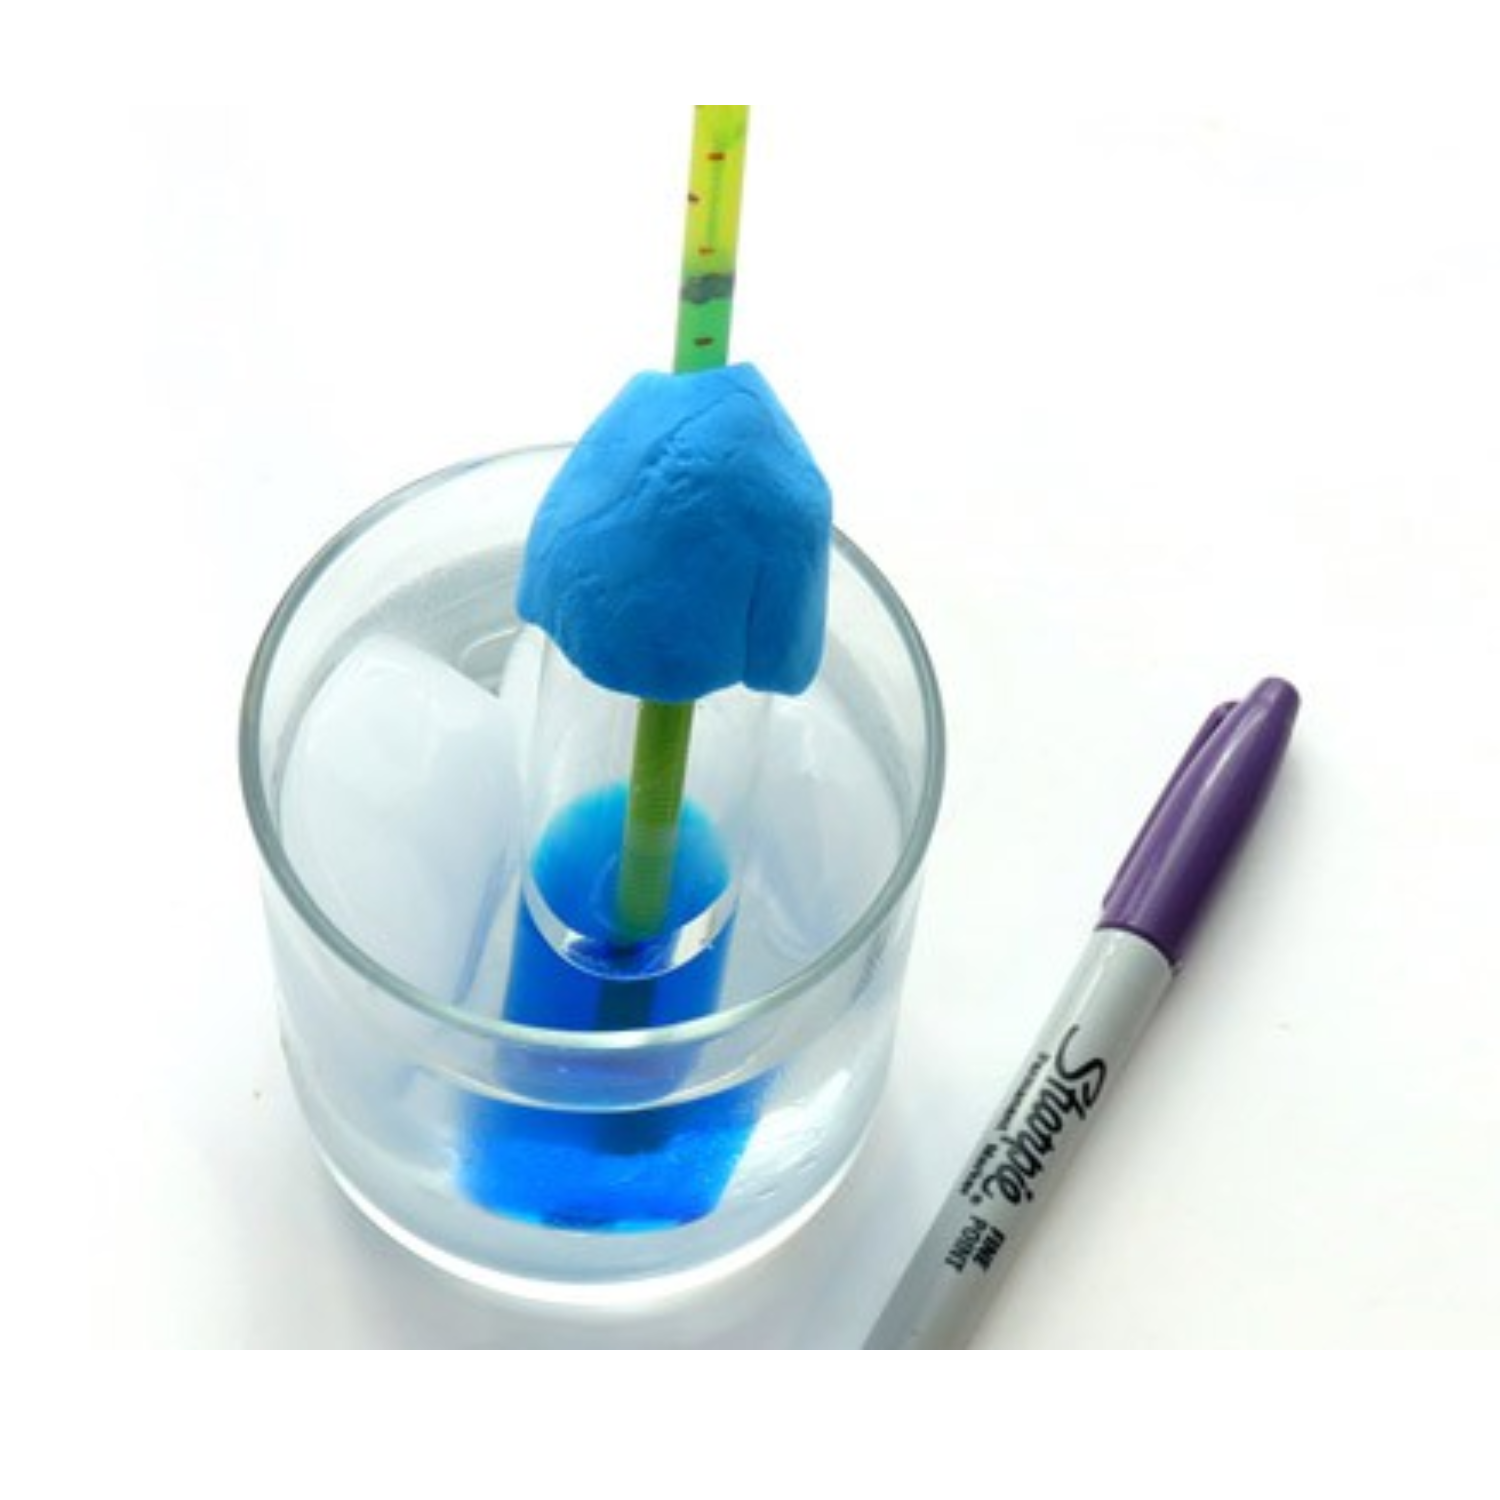
5. Test It!
Place the bottle in a bowl of warm water and observe the liquid rising in the straw.
Try it again in cold water and observe the liquid level drop.


Build instructions provided by Sciencebuddies.org
Submit Your STEM Kit Build Feedback:
After you complete your STEM Kit Build, complete the feedback survey to be entered into a quarterly raffle!